
We started the workshop with a small presentation and discussion about the camera obscura, which was the basis of photography as we know it today. Camera obscura translates to dark room. We then moved on to building our cameras. We took the participants to the workshop to drill holes in their tin boxes. This would be the shutter region of the camera.
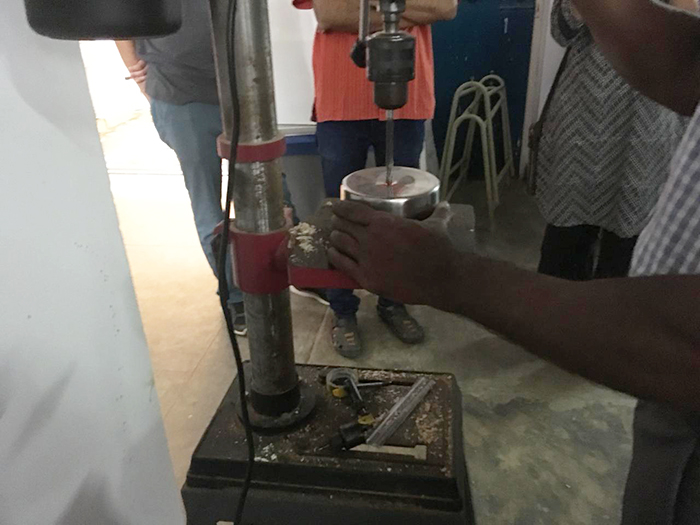
Be careful while drilling a hole in metal at home; always wear protective goggles. Once the hole had been made, the box was thoroughly wiped clean to get rid of any particles. We then painted the insides of the box with black acrylic paint to make it unreflective. They were left to dry for 15 minutes.
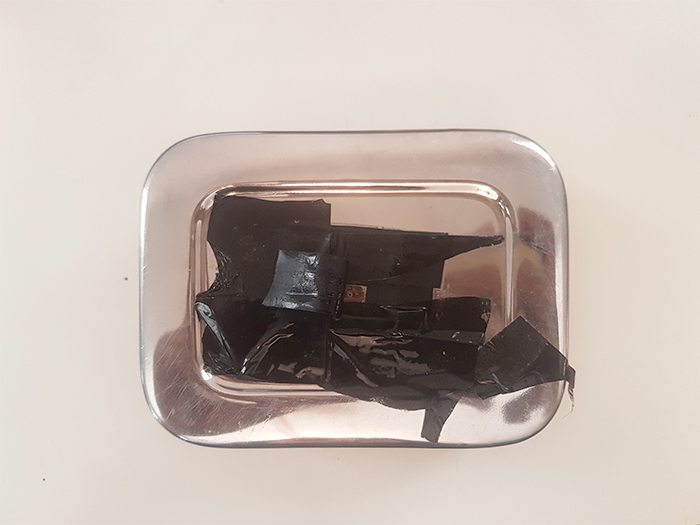
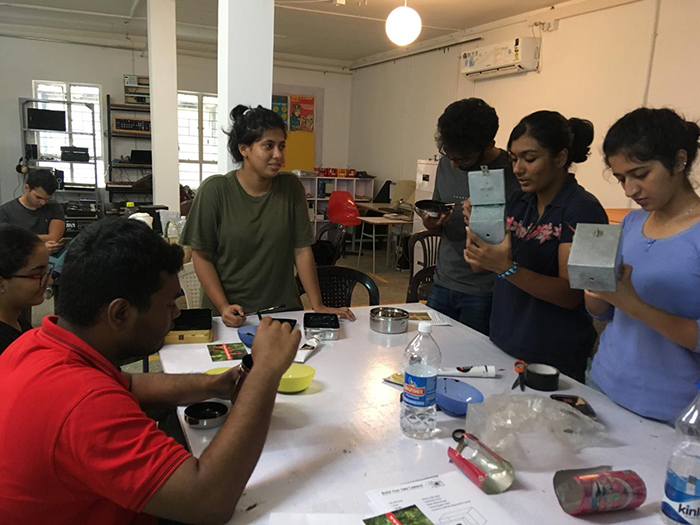 In the meantime, we started making the actual pinhole window. We cut out a small rectangular piece from a can and sanded it till smooth. We then pierced a tiny hole in it using the tip of a needle. The window was then sanded once more. After the box dried, the pinhole window was secured on top of the hole drilled in the box with insulation tape. We used some more tape to create a shutter over the pinhole which could easily be opened and taped shut. We made a chart paper stencil as well, to easily cut our photo paper to the correct size in the darkroom.
We then moved to the dark room to load the photo paper into our cameras. Using the stencil, we cut the paper to the correct size and then placed it inside the camera. The cameras were then tightly shut. Some people chose to secure it with some insulation tape as well. After making sure the camera and shutter are sealed, participants left the darkroom to go out and shoot.
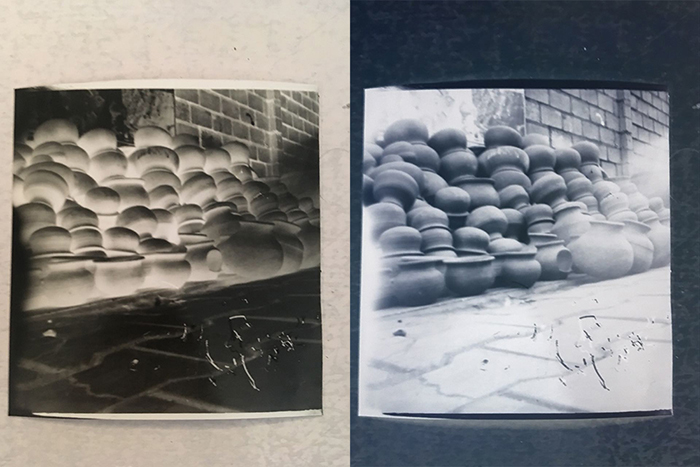
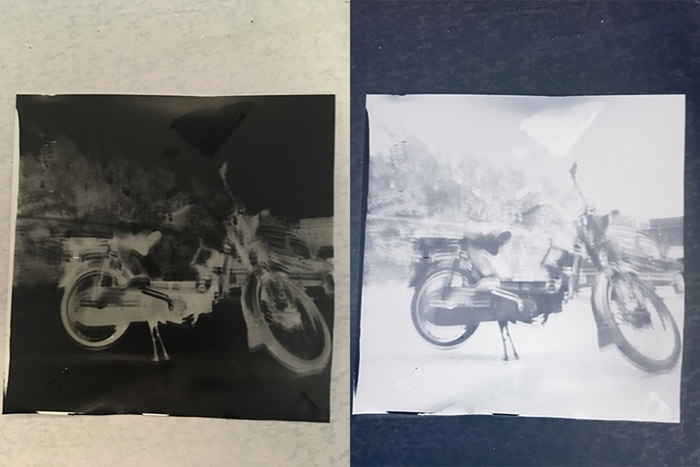
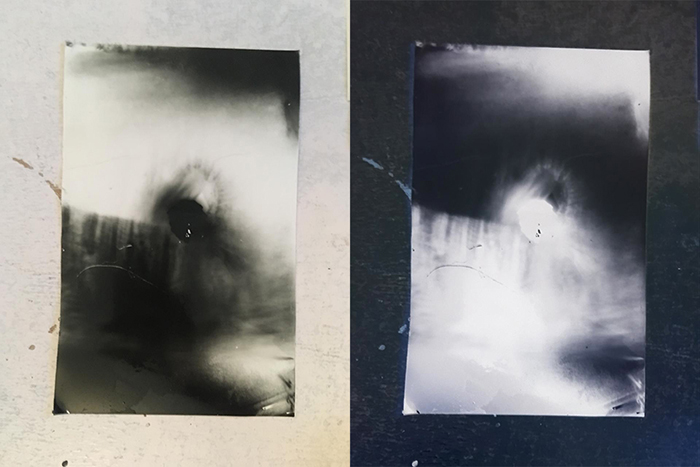
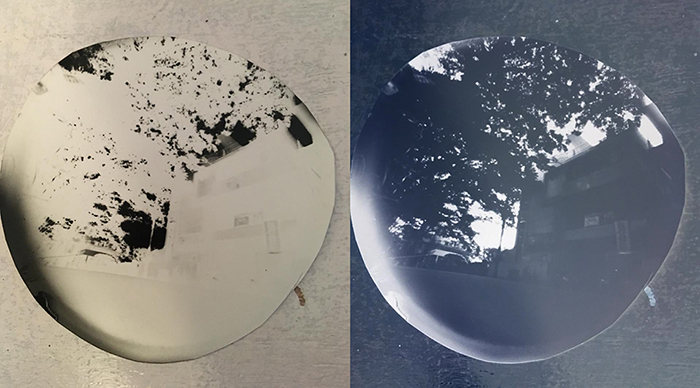
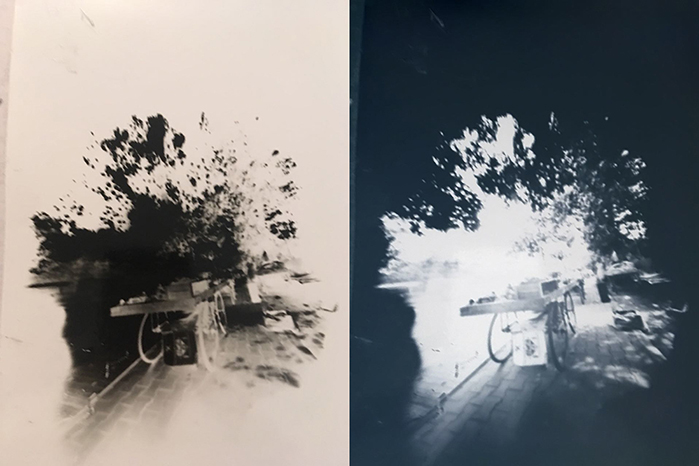
Once everyone had returned we went on to develop the images. Participants were introduced to the chemical baths we had prepared. This included the developer solution, a stop bath comprising of water and dilute acetic acid, the fixer solution and then the final wash. Participants developed their prints themselves and these were left inside the darkroom to dry for 15 minutes. After reviewing the results from the first shoot, they did another round of shooting keeping the earlier results in mind. Here are some of the photographs they took.